FOUNDATION
Aesthetic of Nature - Summer Task
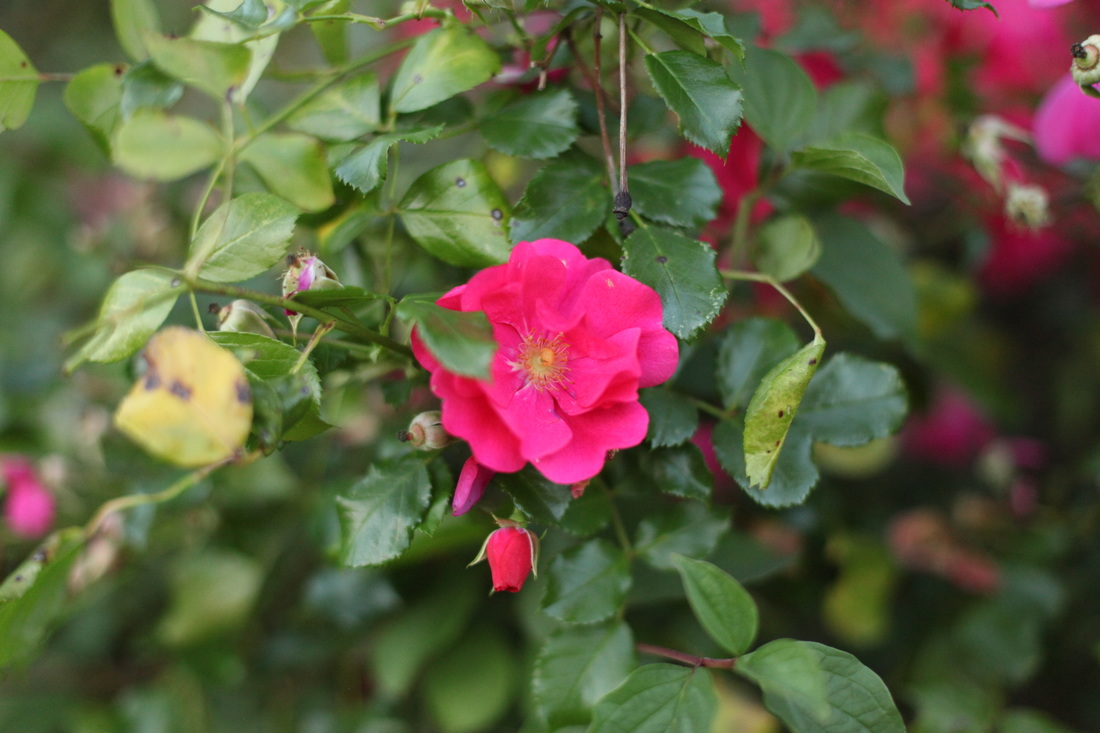
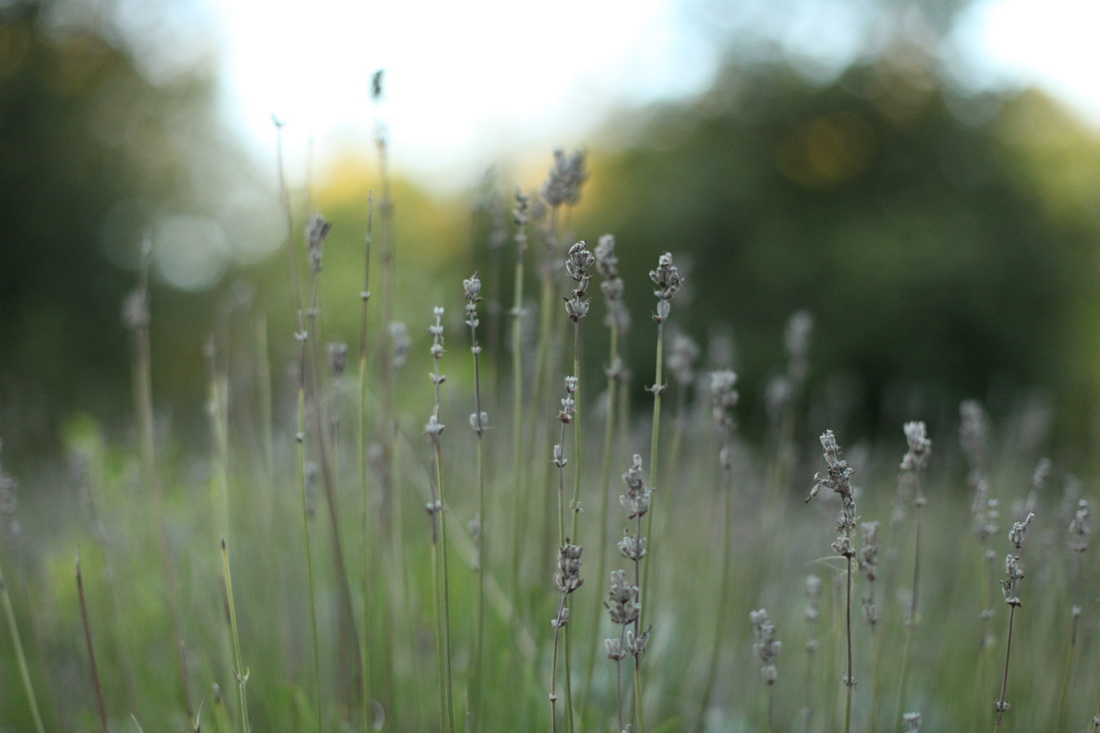
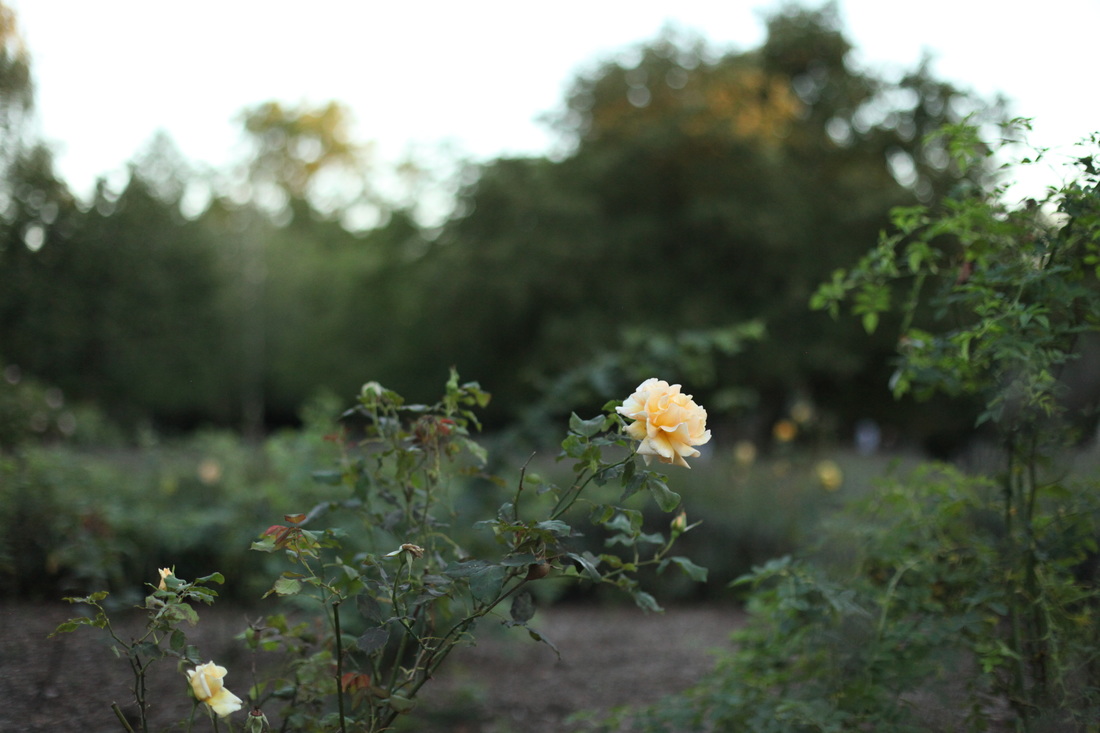
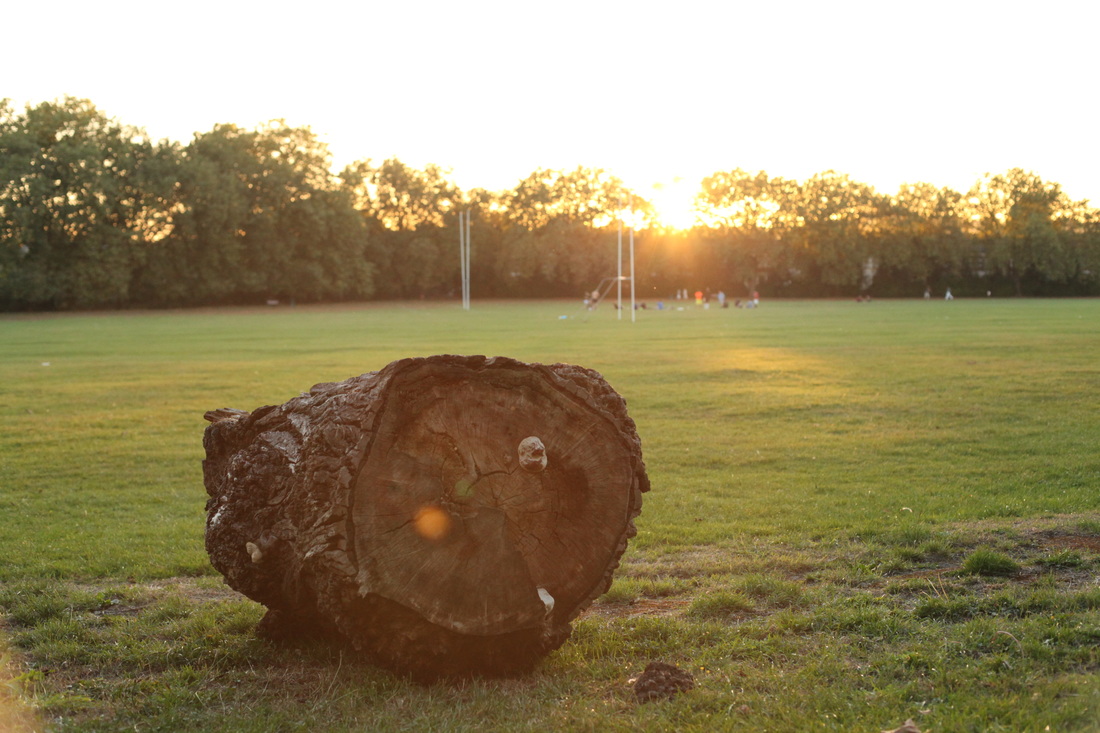
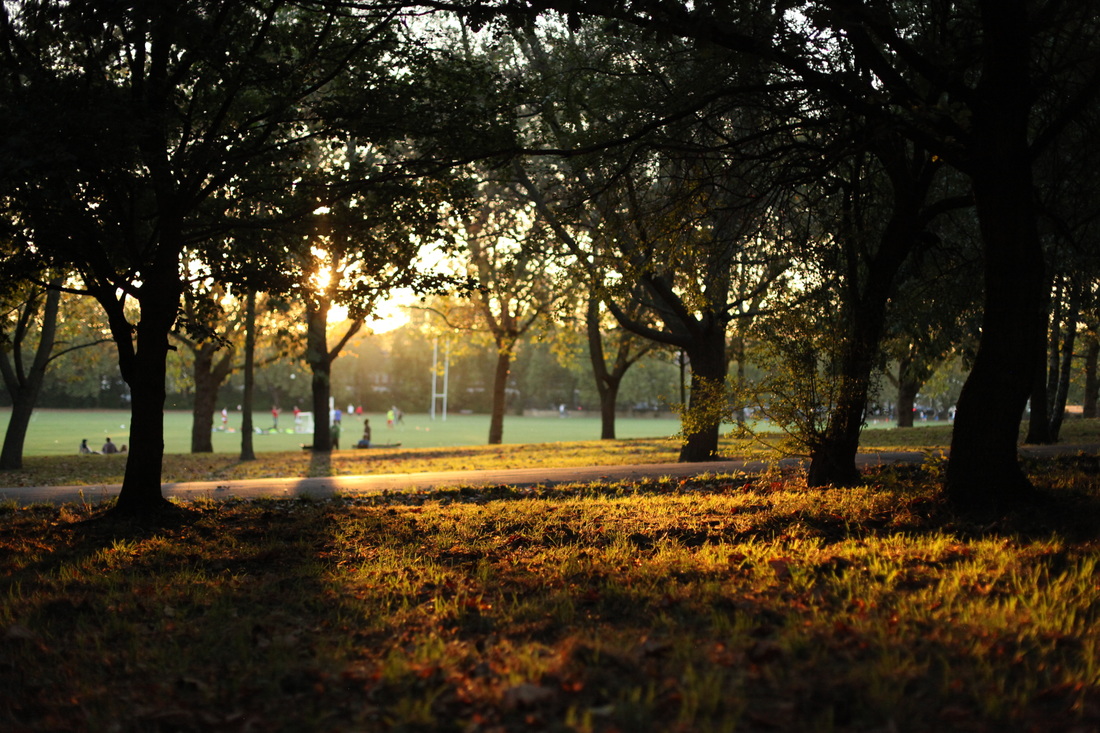
My 10 photos were taken at a local park called 'Downhills' that has a designated area for flowers and plants with benches and a walkway for the public to visit and view. I decided to take photographs that focused into the details of nature and the natural bright colours of the plants I came across. I used depth of field in this task to create an eye-catching group of photos and to highlight the beauty of the plant that is in focus.
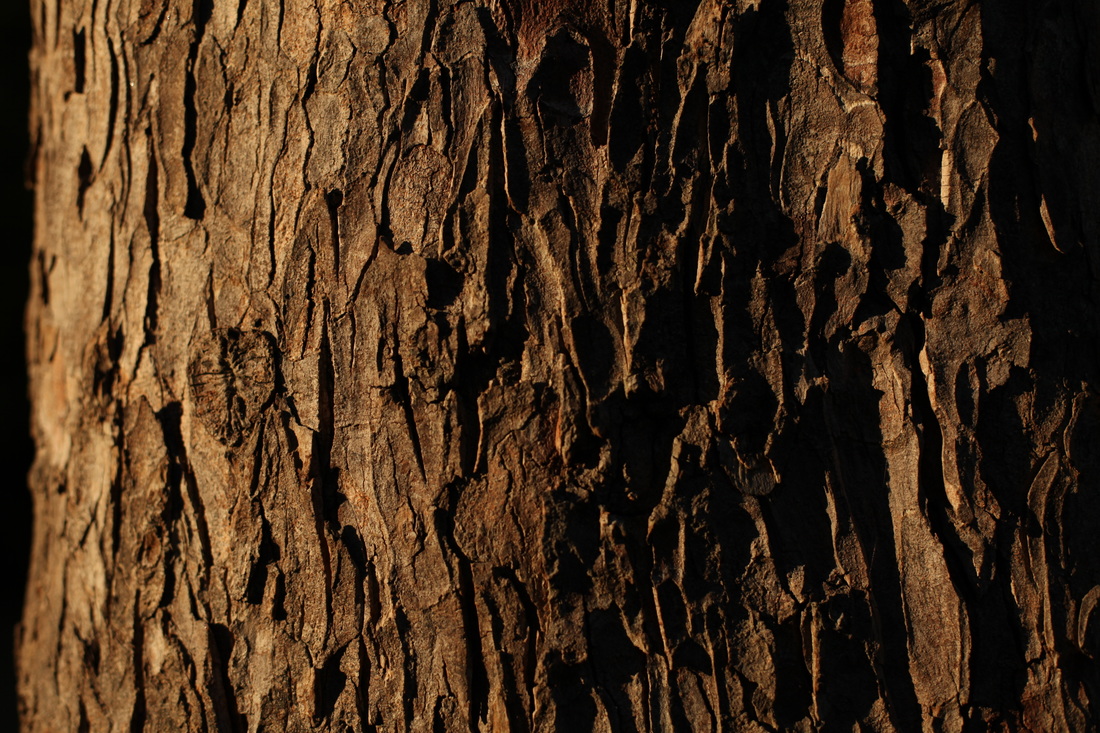

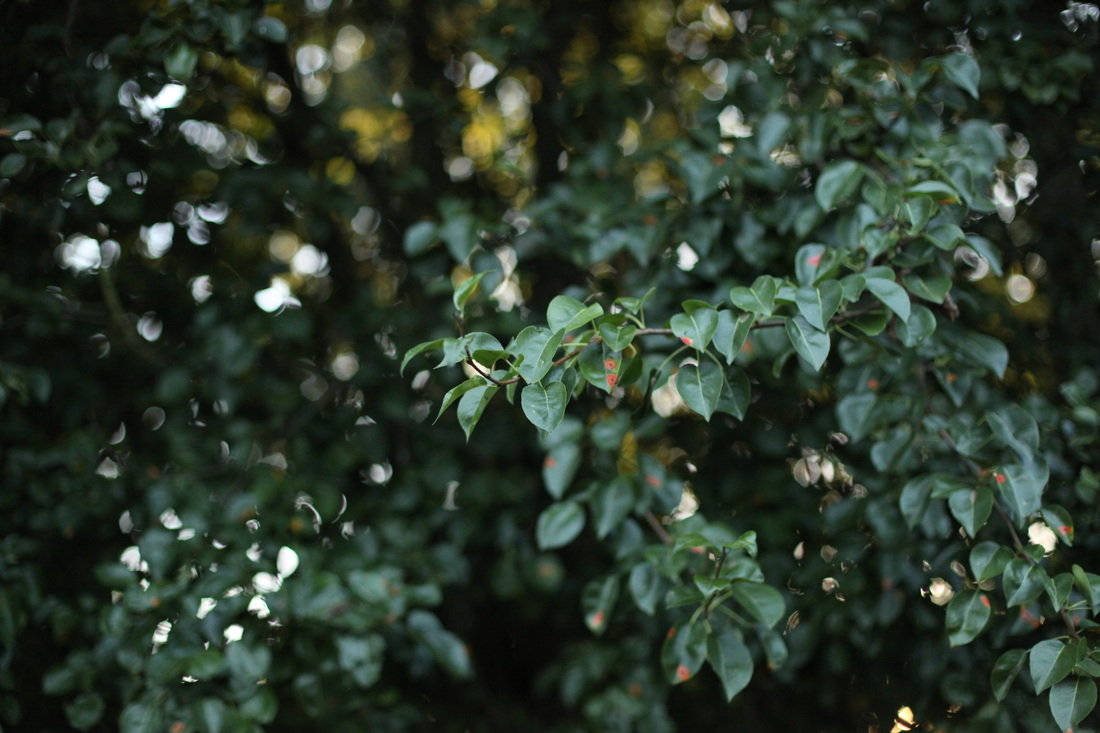

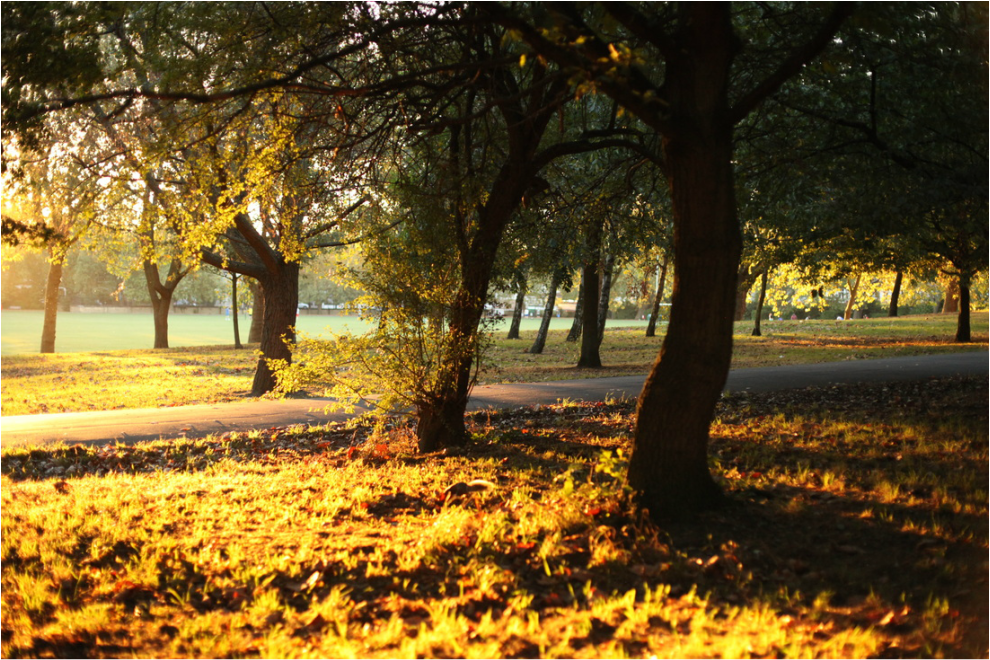
This image captures the intense detail on the tree trunk. The lighting/positioning of the camera against the sun adds to the image as the sun hits the trunk from the left lighting up the image and creating a shadow on the right hand side where the sun is not reaching the trunk. This image is eye-catching as every part of the image is interesting.

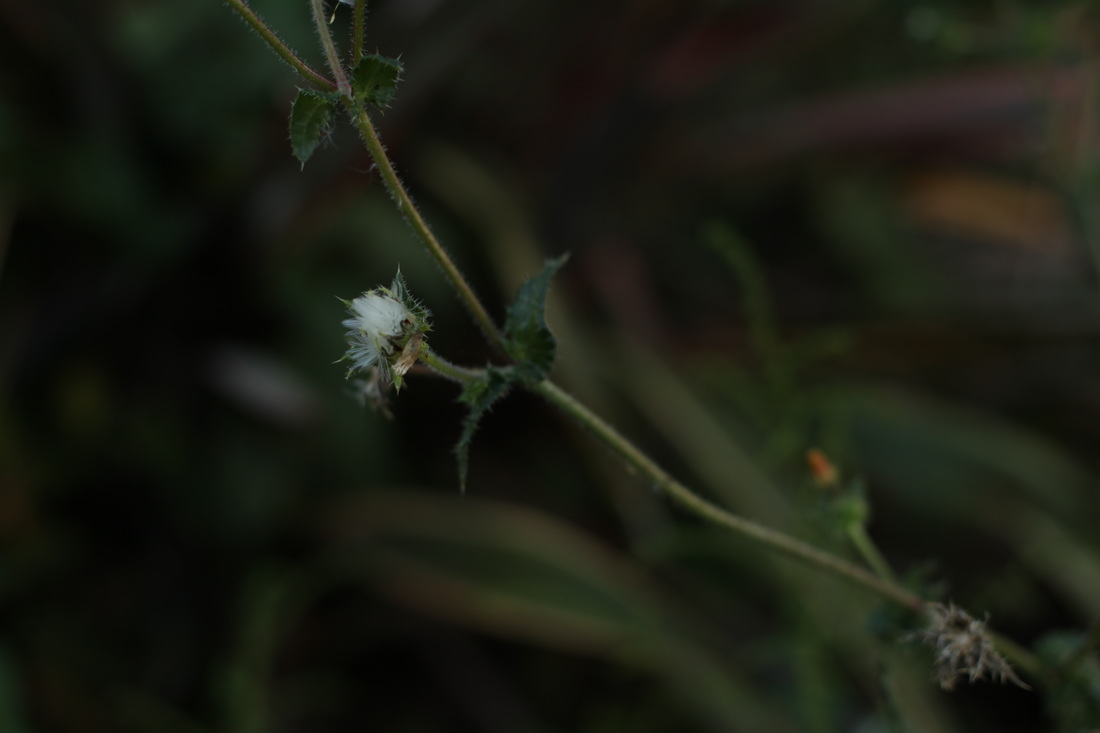
Most of my 10 photographs used depth of field. In the image above one tiny part of the plant is in focus drawing the eye to that section of the image. The background is just a blur of green keeping the attention on the focused part of the image.

I think the image above is interesting because, again, the use of depth of field focuses on the centre of the image and the brightly coloured flower. You can also see the great detail in the centre of the flower and all the colours and shapes that make up the picture.

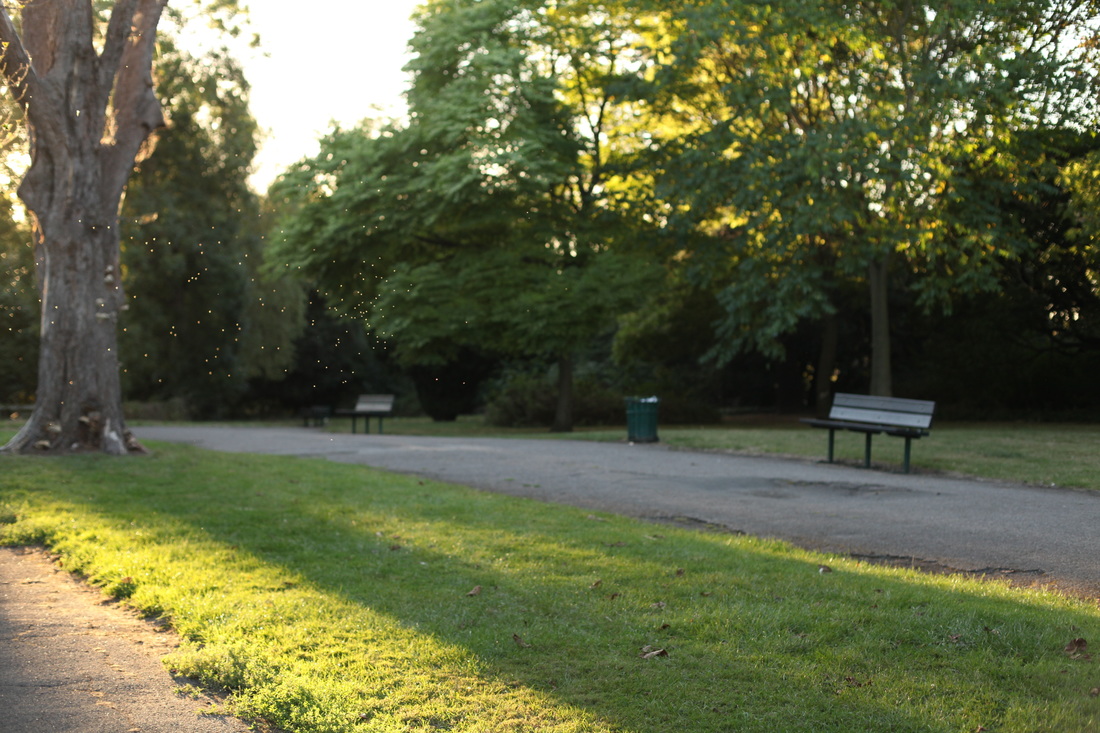
In the image above I used depth of field and I specifically like the blurred lights in the background of the image. The image is simplistic and minimal in colour and how much is in the pictures but a lot of detail is still captured.
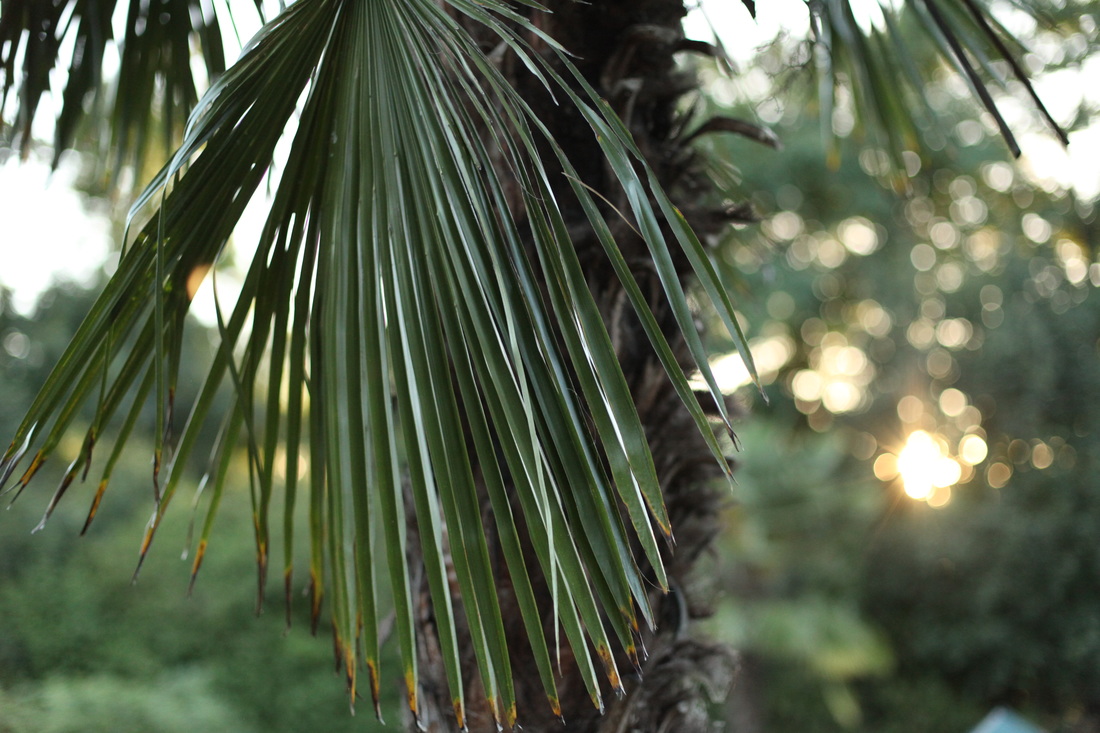
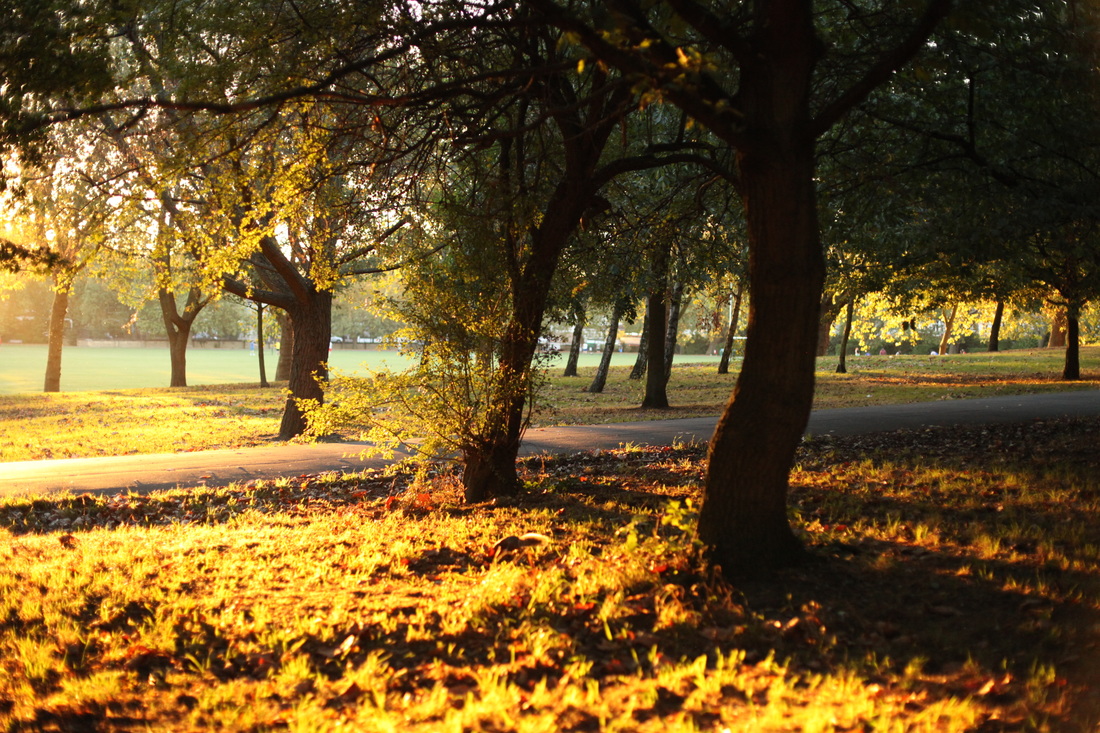
The images above is one of the last photos I took on this day and was captured during 'magic hour' or 'golden hour'. This occurs shortly before sunset or after sunrise (in this case sunset). During this time daylight is redder and softer than when the sun is higher in the sky. The warm tones and colour schemes of the image contrasts the cold tones of the previous images making it stand out even more.
Early history of photography
In the 16th Century exploration of the reality and representation of nature became an increasingly common interest among artists.
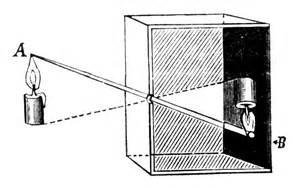
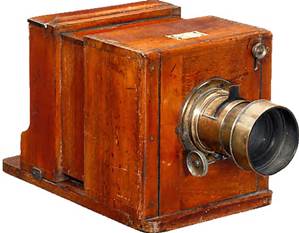
The first camera was the camera obscura made in Paris, France. Brazil and England were next to follow. Artists developed instruments such as the camera obscura in order to achieve realism. The camera obscura required a dark room or space where an inverted image was projected onto a surface retaining colour and perspective. The camera lucida was a product of further development of technology. The camera lucida was smaller and more controllable as well as used as portable optical devices.
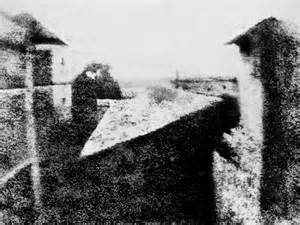
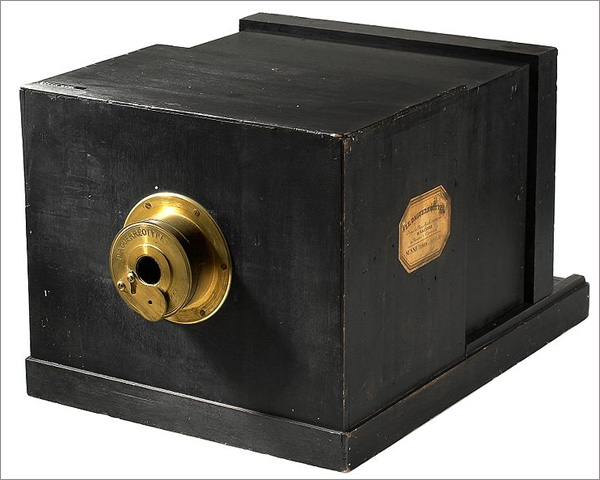
As society was transformed by the industrial revolution in the 1800s scientists ventured into presenting reality in a fixed format. In 1827 Joseph Niépce, a scientist, succeeded in creating the first image of the view from his window in France as a projected image using heliography. In order to develop his projected image Niepce worked with Louis Daguerre. In January 1839 the Daguerrotype was officially introduced and received instant commercial success. During this invention and the Calotype was developed by an English scientist called William Henry Fox Talbot. The Calotype had one upped the Daguerrotype as it could reproduce the image as a negative instead of being unduplicatable. Despite this the Daguerrotype held its popularity as it was sharper, had better quality and was less expensive.
The Industrial Revolution was the transition to new manufacturing processes, giving rise to the development of photography and allowing it to take place. The invention of the camera allowed people to take and cherish precious moments in life.
The first camera was the camera obscura made in Paris, France. Brazil and England were next to follow. Artists developed instruments such as the camera obscura in order to achieve realism. The camera obscura required a dark room or space where an inverted image was projected onto a surface retaining colour and perspective. The camera lucida was a product of further development of technology. The camera lucida was smaller and more controllable as well as used as portable optical devices.
As society was transformed by the industrial revolution in the 1800s scientists ventured into presenting reality in a fixed format. In 1827 Joseph Niépce, a scientist, succeeded in creating the first image of the view from his window in France as a projected image using heliography. In order to develop his projected image Niepce worked with Louis Daguerre. In January 1839 the Daguerrotype was officially introduced and received instant commercial success. During this invention and the Calotype was developed by an English scientist called William Henry Fox Talbot. The Calotype had one upped the Daguerrotype as it could reproduce the image as a negative instead of being unduplicatable. Despite this the Daguerrotype held its popularity as it was sharper, had better quality and was less expensive.
The Industrial Revolution was the transition to new manufacturing processes, giving rise to the development of photography and allowing it to take place. The invention of the camera allowed people to take and cherish precious moments in life.
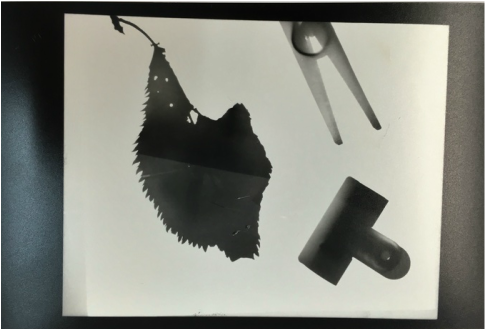
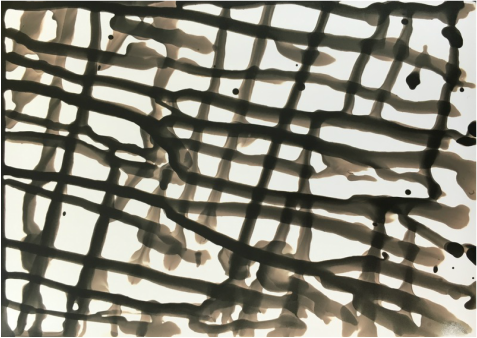
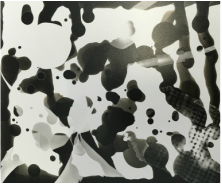
PhotogramsA photogram is a photographic print made by placing objects directly onto light-sensitive paper and exposing it to light from above. Areas that have not been exposed to light appear white, those who have appear grey.
The images below are my final products. My first final piece is an example of painting with developer. I started off with multiple different objects of interesting shapes and transparency. I created my print and developed random areas of the paper using a paint brush and continued as usual by placing the paper in stop, fix and water. My second final piece is an example of solarisation. Solarisation is when the image is recorded on a negative or photographic print and is partially reversed in tone. I exposed my object-covered paper with light for one second, developed it until the image started to appear, exposed it for another three seconds and continued developing the image and completing the process. Other examples of photograms are double exposure, stencilling, weaving and toning. In the Dark RoomWWW: I successfully created photograms using multiple techniques, such as solarisation, and I learned how to use the equipment in the dark room (enlarger) and how to develop an image using developer, fix and stop.
EBI: I may have achieved better results in my sandwich prints if I exposed my print for less time as they turned out slightly dark. |
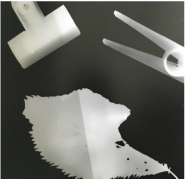
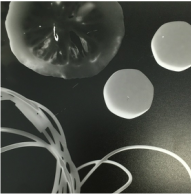
Pinhole CameraThe pinhole camera is based on the camera obscura and is the simplest camera you can imagine. It consists of a large room or container that is blacked out and has a small hall to allow light in.
We used a cylindrical can and lid, foil, and black duct tape. 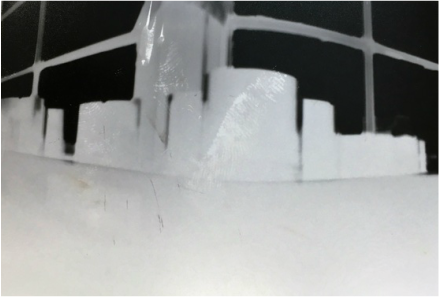
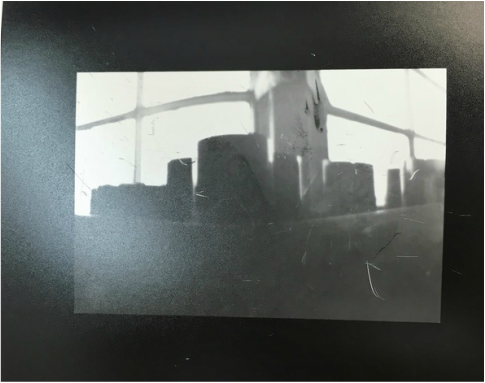
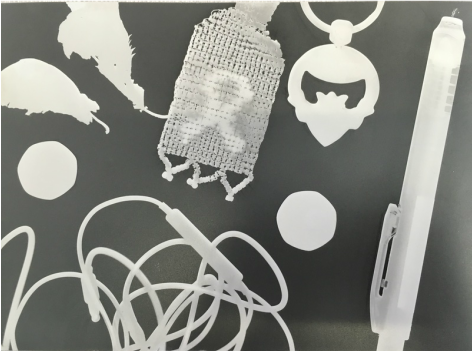
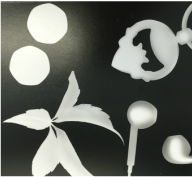
Sandwich PrintsBelow are my two sandwich prints made by placing my photograms over another piece of photographic paper sandwiched between the surface and a block of glass. I then exposed the papers with light for 4 seconds. Reverting the black and white colours.
|
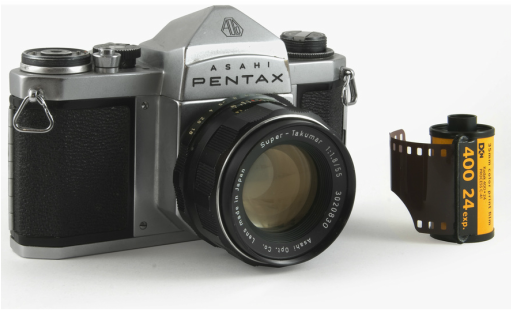
The Film Camera
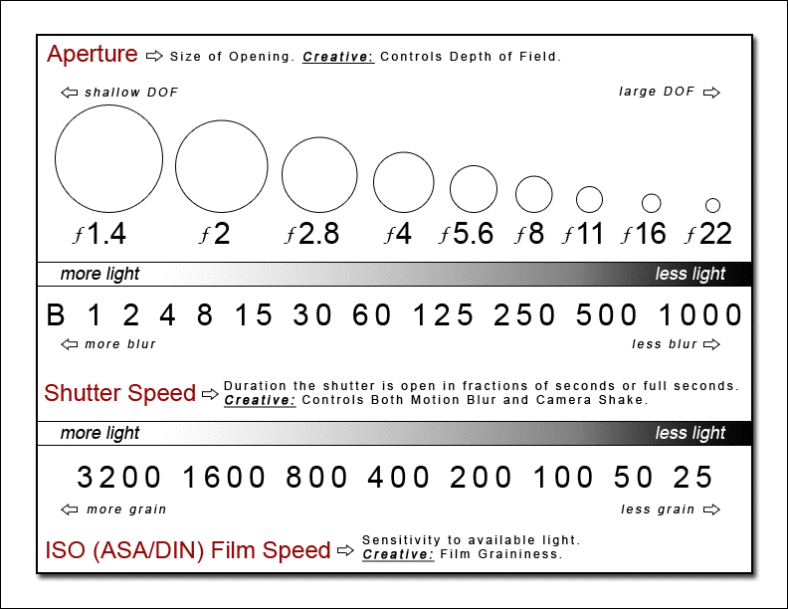
Film cameras control the amount of light that enters the camera.
Shutter speed is the length of time when the film inside the camera is exposed to light. The amount of light that reaches the film is proportional to the exposure time.
Aperture is a hole through which light travels. If an aperture is narrow/small then more light is let through and if an aperture is wide/large then less light is let through.
A fast shutter speed will require a larger aperture to ensure sufficient light exposure, and a slow shutter will require a smaller aperture to avoid excessive exposure.
We used a shutter speed of 125 and a ISO of 400. We changed the aperture according to the light meter in each area we took pictures.
|
|
The Contact Sheet
The contact sheet is often referred to as the photographers sketch book. It consists of photographic images/negatives produced from film. In a dark room a developed piece of photographic film is placed, emulsion side down, on top of a piece of photographic paper. The negatives are then exposed to light and the photographic paper is developed and put through 'stop' and 'fix' revealing the final print/positives.
